

A loose or broken fence panel can quickly become more than an appearance issue. In Central Florida, hard rain, hurricane-season winds, constant sun, sprinklers, and shifting soil can turn a small damaged section into a leaning fence line or an open path for pets. Knowing how to replace fence panels helps you decide whether this is a manageable repair or a sign that the posts, rails, or the entire fence need attention.
The right approach depends on what failed. A single damaged board in an otherwise solid wood fence is very different from a cracked vinyl section, a panel pulled loose from failing posts, or a fence that no longer meets HOA requirements. Before buying materials or removing anything, take a close look at the structure supporting the panel.
Start by Finding the Real Cause of the Damage
A fence panel is only as stable as its posts, rails, brackets, and fasteners. Replacing a panel without identifying why it failed can mean doing the same job again after the next storm.
Walk the fence line and inspect the posts on both sides of the damaged section. A sound post should feel firm when pushed. It should not rock in the ground, lean noticeably, show severe rot near the soil line, or have cracked concrete around its base. On a wood fence, also check the horizontal rails that hold the pickets or prefabricated panel. Soft, split, or sagging rails may be the actual problem.
For vinyl fencing, inspect the post sleeves, rail connections, and locking tabs. A vinyl panel can look damaged when it has simply come loose after wind pressure or impact. If rails are cracked or the posts are moving, replacing only the center section may not solve the issue.
Aluminum fence systems work differently. Their panels typically connect to posts with brackets or routed holes. A bent panel can sometimes be replaced on its own, but loose posts, damaged brackets, or a shifted gate post should be addressed before a new panel is installed.
If several sections are leaning, boards are repeatedly coming loose, or posts have deteriorated, a broader repair or replacement is usually the more cost-effective choice. Patchwork repairs can add up quickly when the underlying structure has reached the end of its useful life.
How to Replace Fence Panels Step by Step
Once you confirm the neighboring posts and rails are in good condition, measure carefully before ordering or cutting a replacement. Fence sections are not always standard sizes, especially in older homes, along slopes, or around gates. Measure the opening from post to post, the panel height, and the spacing between rails or brackets.
Match the existing fence as closely as possible
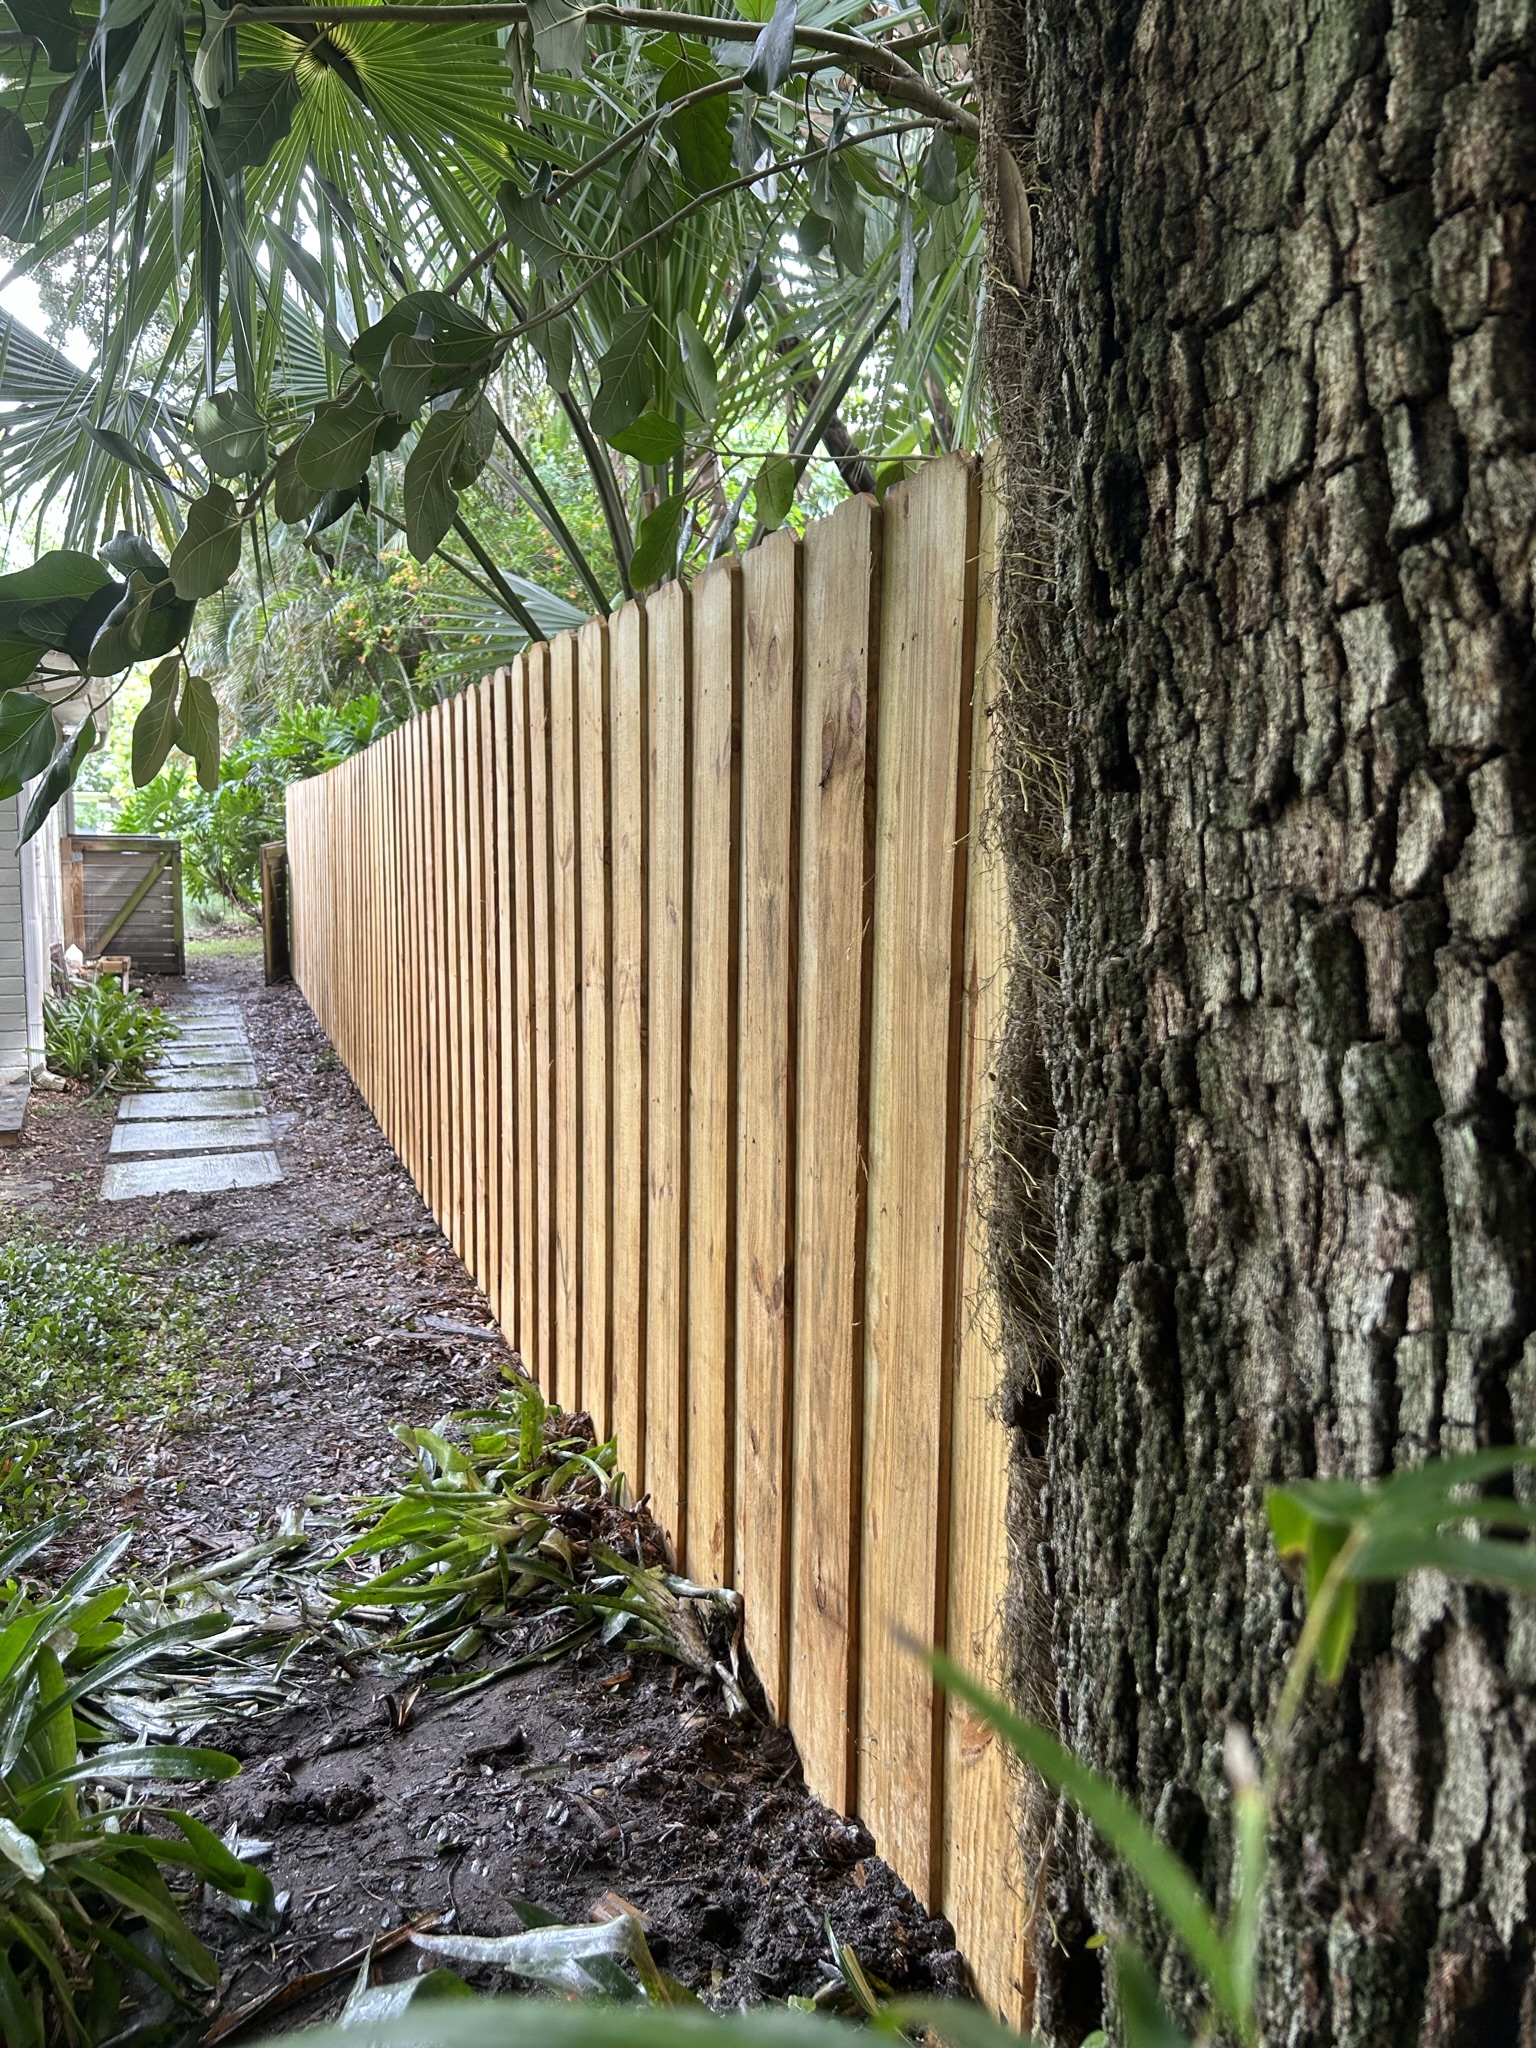
For a wood privacy fence, match the wood type, picket width, thickness, rail layout, and top style. Pressure-treated pine is common in Florida, but color and grain can vary. New wood will often look lighter than weathered fencing at first. A stain or sealant can help blend the repair after the wood has had time to dry.
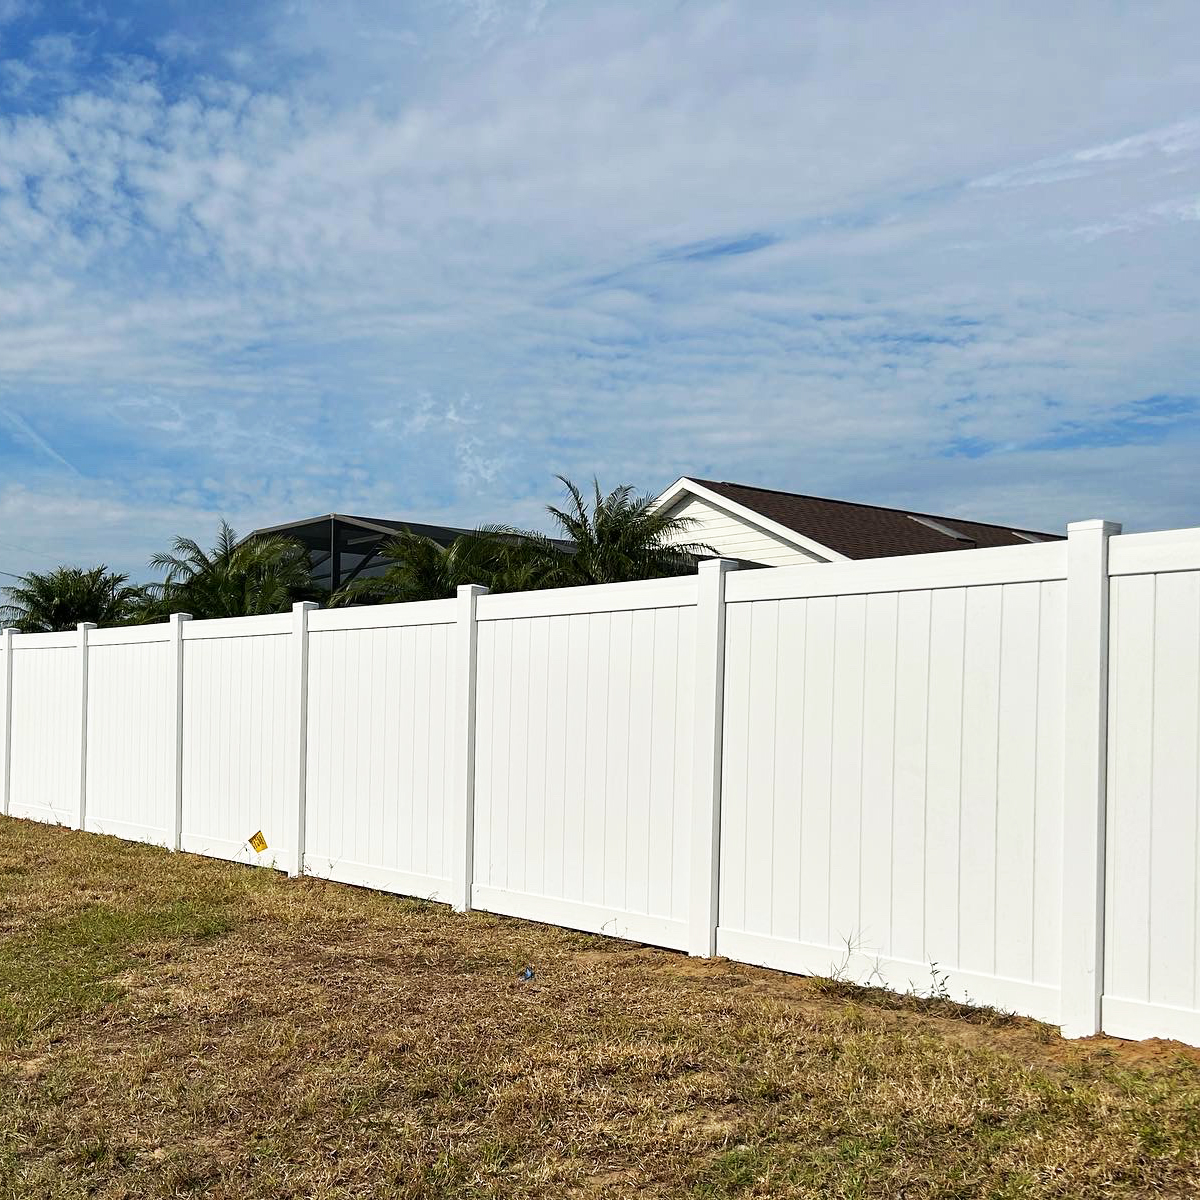
With vinyl, identify the manufacturer and profile if possible. White vinyl may seem interchangeable, but rail dimensions, tongue-and-groove designs, and locking systems vary by product line. A mismatched section can fit poorly, look noticeably different, or fail under wind pressure.
For aluminum, match the panel height, picket spacing, rackability for slopes, color, and bracket type. Black is common, but black finishes can still differ between manufacturers and production runs.
Remove the damaged section carefully
Start by removing loose debris, broken pickets, or damaged hardware. Wear gloves and eye protection, particularly when working with splintered wood, rusted screws, or cracked vinyl. Keep children and pets away from the work area, since removing a privacy panel can leave an open boundary until the repair is complete.
A wood panel attached between posts may be secured with nails, screws, rail brackets, or toe-nailed fasteners. Back out screws when possible. Pulling aggressively on a nailed section can damage the adjacent rails or pull hardware out of a post. If individual pickets are damaged but the rails remain strong, replacing only those pickets may preserve more of the fence and reduce cost.
For a vinyl section, remove the top rail cap or post cap as required, then release the rails from their connections. Some systems use tabs that must be pressed before the rail will slide free. Avoid forcing vinyl in cooler weather, when it can become less flexible and more likely to crack.
Aluminum panels are usually removed by taking out bracket screws or lifting the panel from routed post openings. Support the panel while removing the final fasteners so it does not fall or bend.
Install, align, and secure the replacement
Place the new panel or rebuilt wood section into the opening and check the height before permanently fastening it. Use a level to verify that posts are plumb and rails are level. On a sloped yard, the fence may be stepped or racked, so match the alignment of the surrounding sections rather than forcing a level line that looks out of place.
For wood fencing, exterior-rated screws are often a practical choice for repairs because they hold securely and make future adjustments easier than nails. Use fasteners designed for treated lumber to reduce corrosion. Leave appropriate spacing between pickets if the existing fence uses gaps for drainage and expansion.
For vinyl and aluminum, use the manufacturer-approved hardware and connection method. Improvised screws through visible vinyl or aluminum can weaken the material, create rough edges, and affect the finished appearance. Confirm that rails are fully seated, brackets are tight, and caps are secure.
After installation, open and close nearby gates. A damaged or leaning section can place pressure on a gate line, and correcting the panel may reveal a gate that needs adjustment.
Florida Weather Changes the Repair Decision
Florida fences face conditions that are harder on materials than many homeowners expect. Heavy moisture speeds up wood rot, strong sun can fade and dry materials, and seasonal wind can exploit every loose fastener and weak post.
Wood remains a popular choice for privacy and a traditional backyard look, but it needs maintenance. Sealing, staining, and periodic inspections help protect it from moisture and insect damage. Vinyl provides a clean, low-maintenance privacy option, although it must be installed correctly to accommodate expansion and withstand wind. Aluminum is a strong choice for security, pool areas, and open views, but it does not provide privacy unless paired with landscaping or another screening solution.
A replacement panel is also a good time to check drainage. Sprinklers hitting the fence daily, standing water around posts, and soil that washes away after storms can shorten the life of a new section. Redirecting a sprinkler head or improving drainage near a fence line may prevent the next repair.
When a Simple Panel Replacement Needs Approval or a Permit
Replacing one damaged panel in the same location is often considered a repair, but community rules and local requirements can vary. Many Central Florida homeowners live in HOA-governed communities where even a matching replacement may need to follow approved materials, colors, heights, and fence styles.
A larger replacement project is more likely to require HOA approval or permitting, especially if it changes the fence height, material, footprint, or placement. Property lines, easements, pool safety requirements, utility locations, and corner-lot visibility can all affect what can be installed.
Do not assume an old fence was installed in the correct location simply because it has been there for years. If posts are being replaced or the fence line is changing, verify the boundary before work begins. It is much easier to resolve a placement question before concrete is poured than after a new fence is complete.
Signs It Is Time to Call a Fence Professional
DIY panel replacement makes sense when the damage is isolated and the supporting posts are solid. It becomes less straightforward when the repair involves structural issues, hidden rot, multiple materials, gates, or community paperwork.
Consider professional help if you find more than one leaning post, cracked concrete footings, widespread wood rot, broken vinyl rails, storm damage across several sections, or uncertainty about the property line. A professional assessment can also be useful when a fence borders a neighbor, a retention pond, a commercial property, or a pool area.
For homeowners who would rather avoid juggling measurements, materials, HOA documents, permits, and installation details, Primo Fence can evaluate the full fence condition and provide a clear plan for repair or replacement. That can be especially valuable after a storm, when a quick patch may not be the safest long-term answer.
A properly replaced panel should restore privacy and security without creating a weak spot in the fence line. If the repair feels bigger than the panel itself, pause before installing new material. A careful inspection and a clear plan will protect your yard, your budget, and the people who rely on that fence every day.
Explore Seminole County fence installation and pricing, then use the calculator below to plan your project.
Estimate your Seminole County fence
Select your fence details and enter a length, or draw your fence line on the map. Your estimate will use Seminole County pricing.
Search for your property, choose the line tool, and draw the proposed fence. Double-click to finish each line. The total drawn length fills the calculator automatically.

Click on the map to start drawing your fence line. Double-click to finish each segment of the fence line.
Fence Configuration
Estimate
Drawn length: 0 ft

0 Comments