
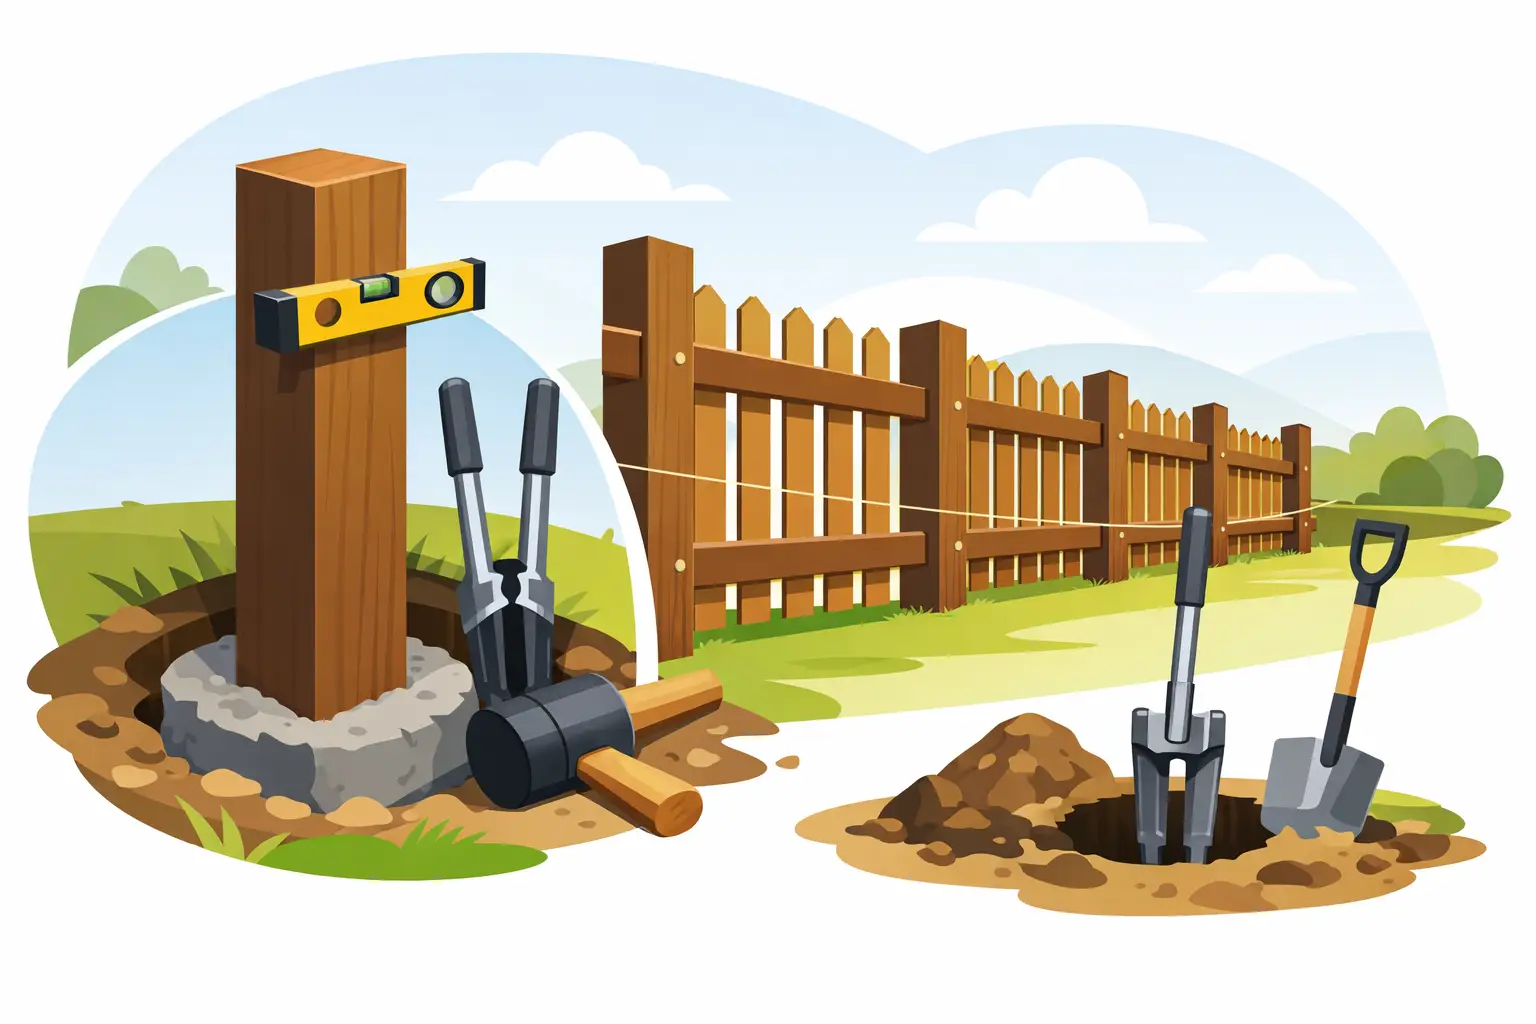
A wood fence only performs as well as the posts holding it up. Searches for “how to install post for wood fence” often focus on digging and concrete, but the real work starts earlier: confirming the property line, planning gate locations, accounting for Florida soil and weather, and setting every post in a straight, consistent layout.
A post that is too shallow, off line, or installed before approvals are in place can create a fence that leans, holds water, or becomes an expensive correction. Whether you are planning a privacy fence for children and pets or replacing an aging boundary fence, this is the installation process worth getting right.
Start With the Layout, Not the Posthole
Before digging, establish where the fence is legally allowed to go. Do not assume an old fence marks the property line accurately. Review your survey, identify easements, and have underground utilities marked before any excavation begins. A fence placed even a few inches over a boundary can lead to a difficult conversation with a neighbor and a costly reinstall.
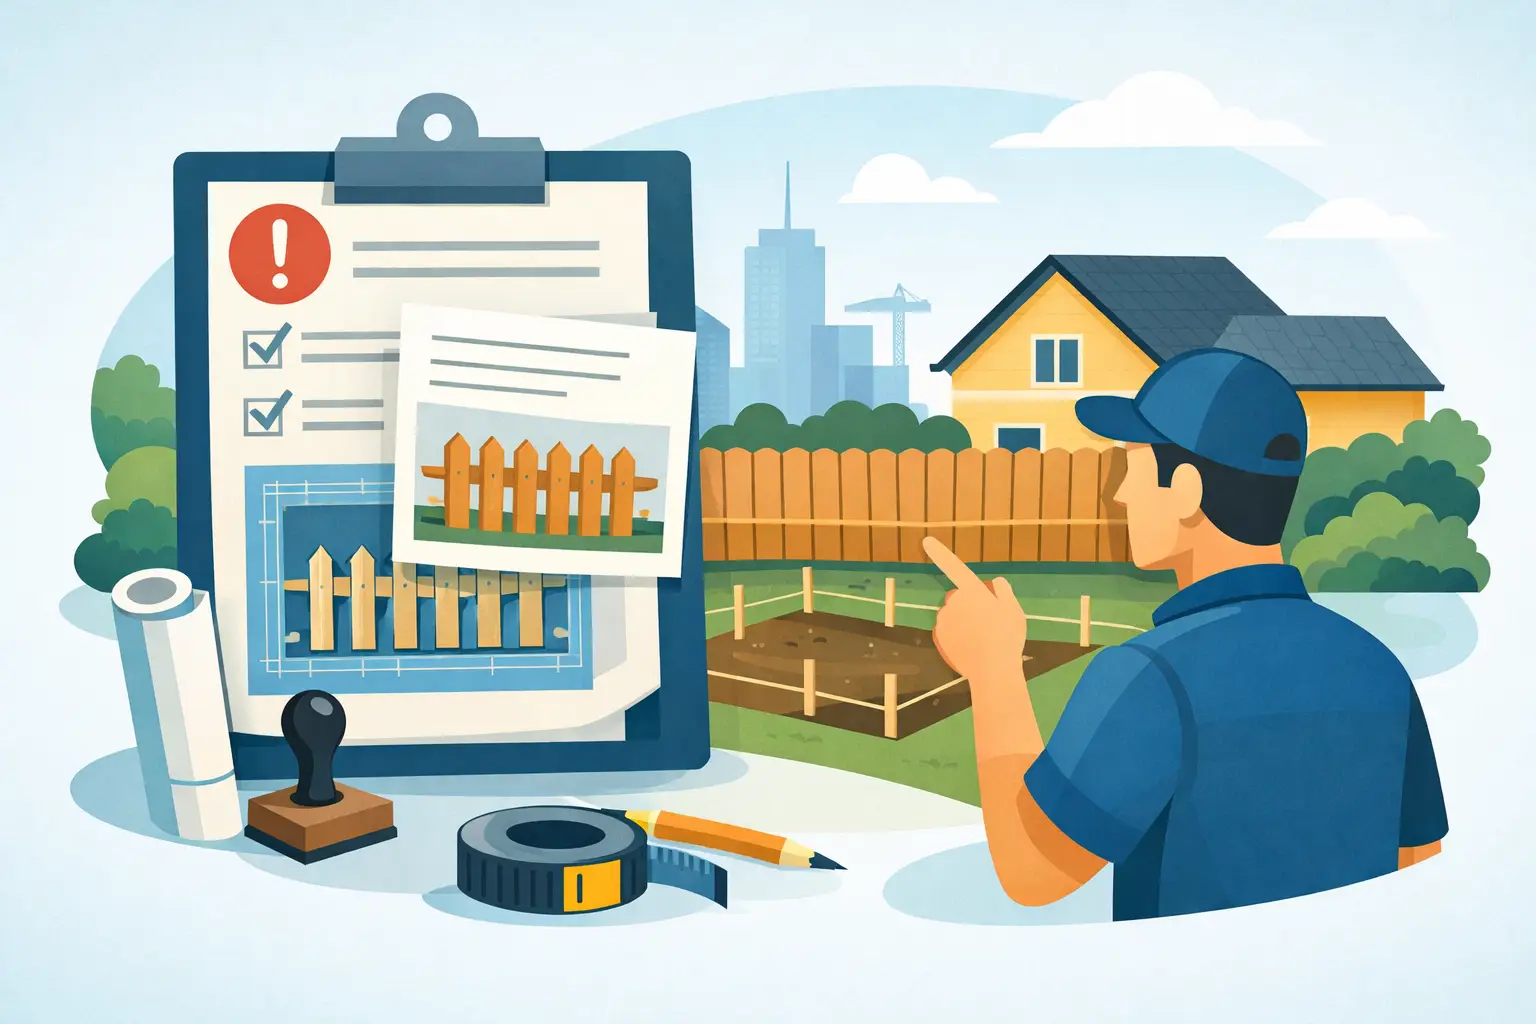
For many Central Florida homeowners, HOA approval and local permitting also need to happen before the project begins. Communities may regulate fence height, materials, colors, placement, and which side faces the street or neighboring properties. Local rules can also affect setbacks, visibility near driveways, and pool-related fencing requirements.
Once the location is confirmed, stake the corners first. Run a taut mason line between them to establish the fence line, then mark each post location. Most wood fence sections use posts spaced about 6 to 8 feet apart, depending on the fence style, rail length, terrain, and wind exposure. Consistent spacing matters because it keeps panels or rails properly supported and gives the finished fence a clean appearance.
Gate posts deserve extra planning. Gates add weight and movement, so their posts often need larger holes, deeper embedment, and stronger bracing than standard line posts. A sagging gate is rarely a hinge problem alone. It is usually a post and footing problem that started on installation day.
Choose Posts Built for Florida Conditions
For a typical residential wood privacy fence, pressure-treated pine posts are a common choice. The posts should be rated for ground contact, not simply outdoor use. Ground-contact treatment is designed for the repeated moisture exposure and soil contact that occur below grade.
Post size depends on the fence design. A 4-by-4-inch post is often used for standard wood privacy fencing, while 6-by-6-inch posts may make sense for gates, taller fences, heavier designs, or areas that receive significant wind pressure. Larger posts cost more upfront, but they can provide better stability where the fence carries more load.
Check every post before installation. Look for major twists, deep checks, splits, or obvious warping. Wood naturally changes as it dries, especially in Florida heat and humidity, so selecting straighter material at the beginning helps produce a more uniform result.
The hardware matters, too. Use exterior-rated screws, fasteners, brackets, and gate hardware that can withstand moisture. Cheap fasteners can stain the wood, corrode prematurely, or fail long before the fence itself needs replacement.
How to Install Posts for a Wood Fence
The basic process is straightforward, but precision is what separates a sturdy fence from one that starts moving after the first wet season. For a standard wood fence, dig each hole roughly one-third of the planned above-ground post height, with adjustments for local soil conditions, fence height, and gate locations. For example, a 6-foot privacy fence commonly requires posts set around 24 to 30 inches deep.
Hole diameter should provide room for the post, concrete, and adjustment. A practical rule is to make the hole about three times the width of the post. A 4-by-4 post, which measures about 3.5 inches across, will generally need a hole around 10 to 12 inches wide. Gate posts usually require wider holes.
After digging, remove loose soil from the bottom of the hole. In areas with sandy soil, the sides can collapse easily, so work carefully and avoid leaving an oversized, unstable opening. If the hole collects water, address the drainage condition rather than burying the post in a water-filled hole and hoping the concrete will solve it.
Set the corner posts first because they establish the height and alignment for the rest of the fence. Place the post in the hole, use a level to check it in two directions, and brace it securely. Then pour concrete around the post according to the product instructions, keeping the post plumb as the material is placed.
The top of the concrete should be sloped away from the post instead of left flat or low. This small detail helps direct water away from the wood. Avoid allowing soil or mulch to pile against the post at ground level, where it can trap moisture and speed up deterioration.
Once the corner posts are set, run a string line between them. Use that line to position the intermediate posts so the fence follows a clean, straight path. Check the level and alignment of each post before the concrete begins to set. It is much easier to correct a post by a half-inch now than after the rails and pickets are installed.
Concrete needs time to cure. The exact wait time depends on the mix, weather, and installation conditions, but rushing into rail installation can shift posts that appeared stable at first. Florida rain is another variable. A professional crew watches the forecast and plans the work so fresh footings are protected and the site stays organized.
When Concrete Is Not the Whole Answer
Concrete is common for wood fence posts, but it is not a magic fix for poor installation. If the hole is shallow, the fence line is overloaded, or the post is not plumb, more concrete will not create a dependable result.
There is also a trade-off with any wood post set in concrete. The concrete adds support, but water management at the top of the footing remains critical. Sloping the concrete and keeping the surrounding grade from trapping water helps extend post life. In some conditions, contractors may use alternative footing methods or drainage considerations based on soil, fence type, and local requirements.
Florida conditions deserve extra attention. Saturated ground, sandy soil, high winds, summer storms, and irrigation runoff can all affect a fence over time. A privacy fence creates a broad surface that catches wind, so post depth, spacing, and attachment methods should match the design rather than relying on a one-size-fits-all approach.
Keep the Fence Line Level and the Top Consistent
A fence can follow a slope in two main ways: stepped sections or a racked design. A stepped fence keeps each section level and drops down at intervals, while a racked fence follows the grade continuously. Standard wood privacy fences are often stepped because the rails and pickets are built in straight sections.
Whichever approach you choose, establish a finished top-line plan before setting posts. If posts are installed at random heights and trimmed later without a consistent reference, the top of the fence can look uneven even if each individual post is technically level.
Check post height with a string line, laser level, or measured reference point. For a fence along a visible backyard, side yard, or street-facing area, this attention to alignment makes a noticeable difference in curb appeal.
Common Mistakes That Shorten Fence Life
The most common post failures are avoidable. Setting posts too shallow can allow the fence to lean under wind pressure. Installing a fence before confirming boundaries or HOA rules can force removal. Skipping utility marking creates a serious safety risk. And setting gate posts like ordinary line posts often leads to sagging and difficult operation.
Another frequent mistake is treating every yard the same. A level backyard with firm soil requires a different approach than a sloped lot with sandy ground, drainage issues, or a large double gate. The best installation method depends on the site, the fence height, the material, and how the property will use the fence.
For homeowners who want the project handled without managing layout details, permit questions, approvals, delivery, and installation scheduling, a professional installation can remove much of the uncertainty. Primo Fence helps Florida property owners move from a clear estimate to a finished wood fence with the planning and communication needed to keep the project on track.
A well-installed fence post is not the most visible part of the project, but it is the part that protects everything above it. Take the time to plan the line, set the depth correctly, brace each post carefully, and respect the conditions of your property. The result is a wood fence that looks straight on day one and stays dependable through the seasons ahead.



0 Comments